Account Setup & Claiming Your Free Listings
Learn how to securely connect your eBay account, claim your free listings, and configure your default settings to start automating your workflow.
Welcome to SellBotAI! We designed our platform to eliminate the friction of listing inventory, and that starts with our onboarding process.
Because we integrate directly with eBay's enterprise systems, setting up your account takes less than two minutes. You will receive 10 free listings upon signup to test the AI—no credit card required. Here is exactly how to get your account connected and configured.
Step 1 Securely Connect Your eBay Account
SellBotAI uses eBay's official sign-in and authorization process. You sign in on eBay, so you do not need to create or manage a separate SellBotAI password.
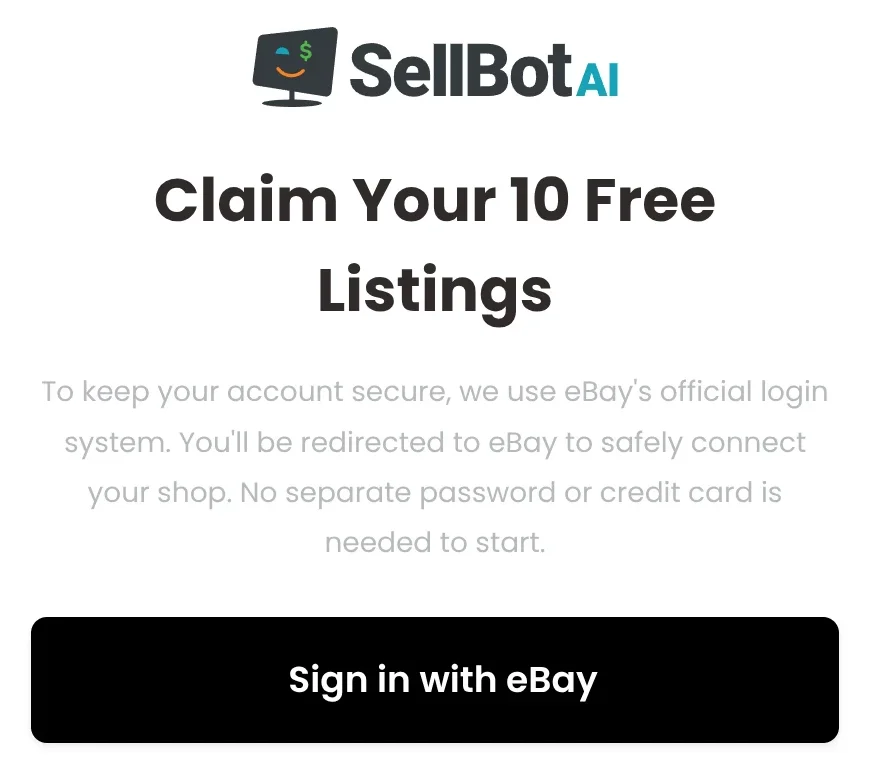
You will be redirected directly to eBay to log in. Once authenticated, eBay will ask you to grant SellBotAI application access.
How the eBay connection works
You enter your password on eBay's own site. SellBotAI never receives or stores it. The permissions you approve let SellBotAI work with your listings and selling settings, including Business Policy setup when you request it.
Read our eBay Sign-In & Security guide for details about permissions, publishing, and disconnecting.
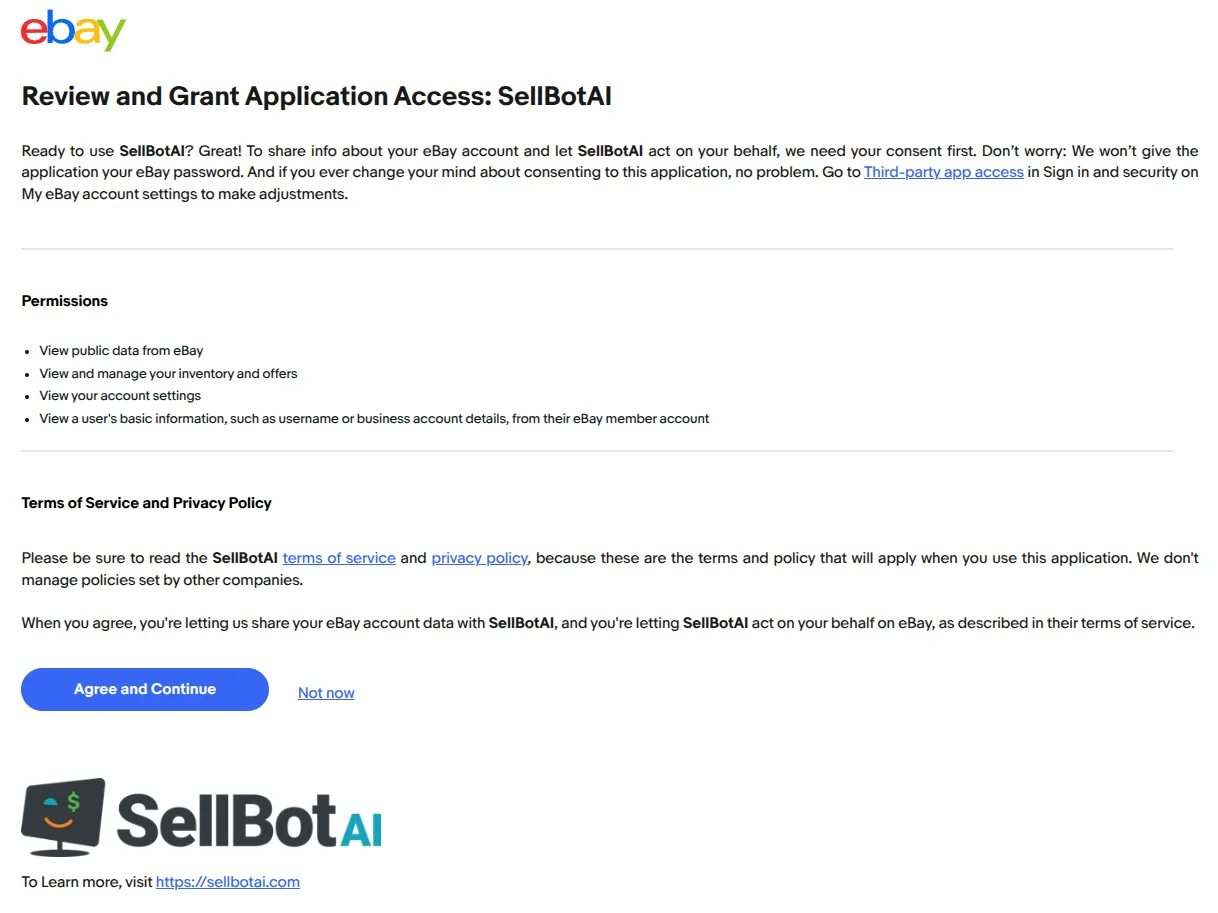
Click the blue Agree and Continue button to securely link your store.
Step 2 Provide Essential Listing Data
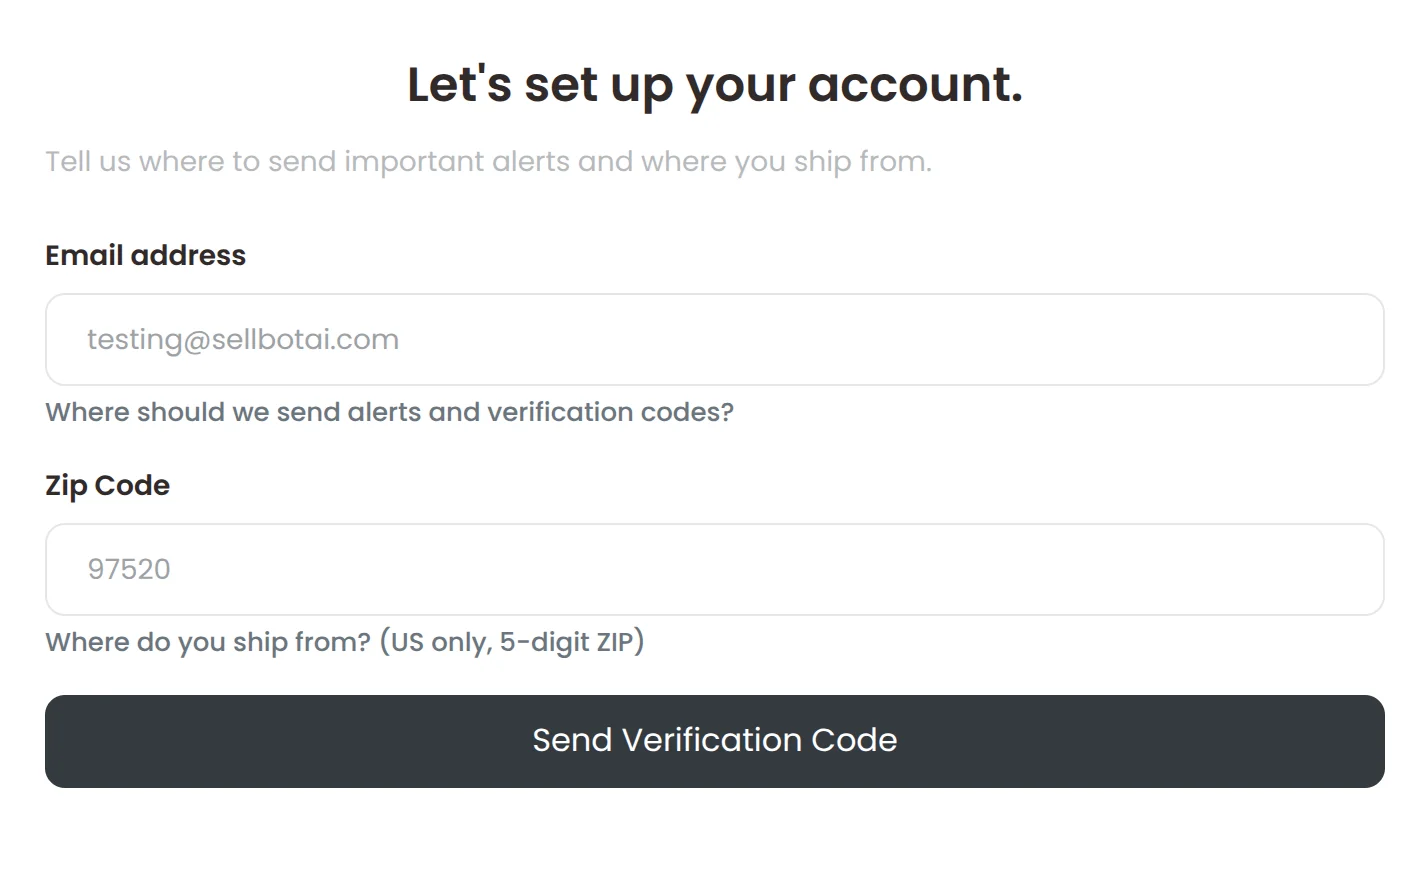
After linking eBay, you will be redirected back to SellBotAI to provide two final pieces of essential information:
- Email Address: Used strictly for account alerts and verification. We do not use this for marketing spam.
- Zip Code: eBay requires a valid origin Zip Code to accurately calculate shipping costs on your generated listings.
Step 3 Verify & Accept Terms
Check the inbox of the email address you just provided. You will receive a secure 6-digit verification code from no-reply@sellbotai.com.
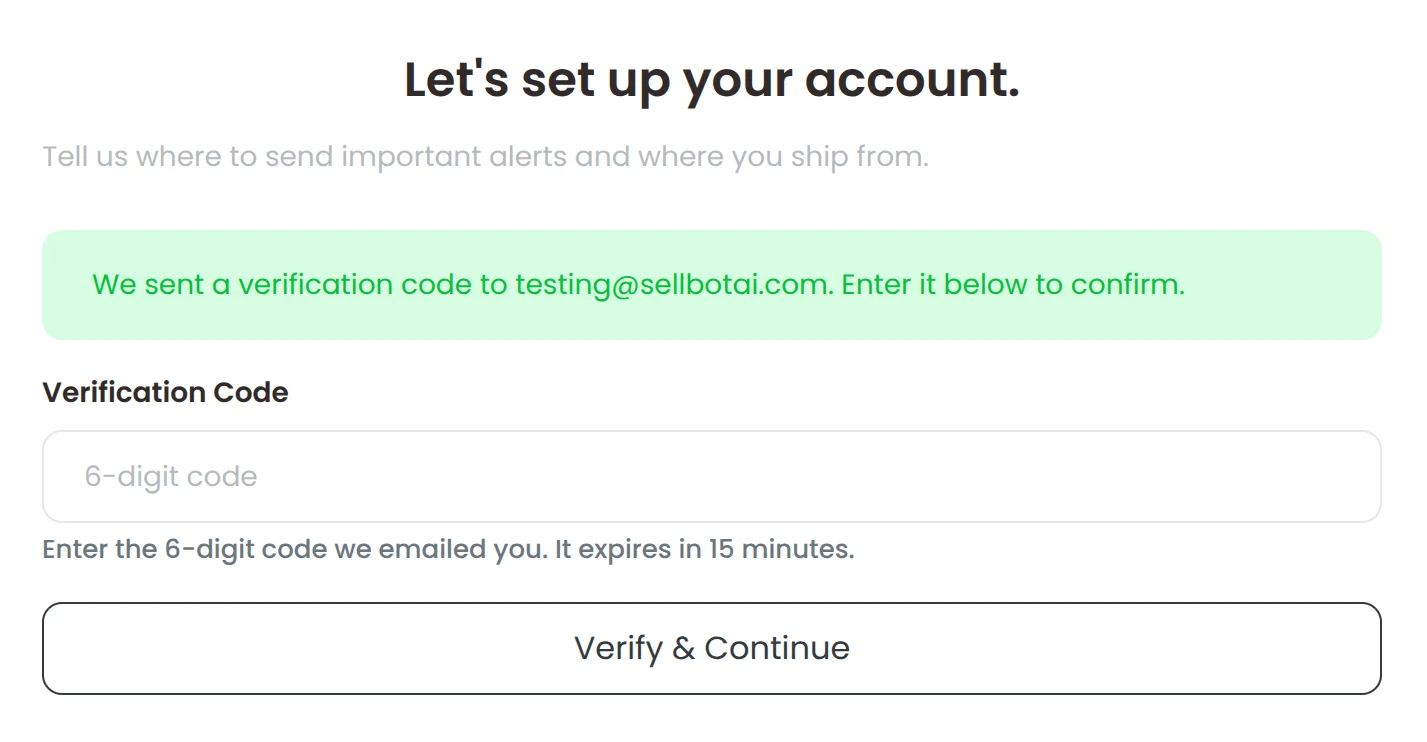
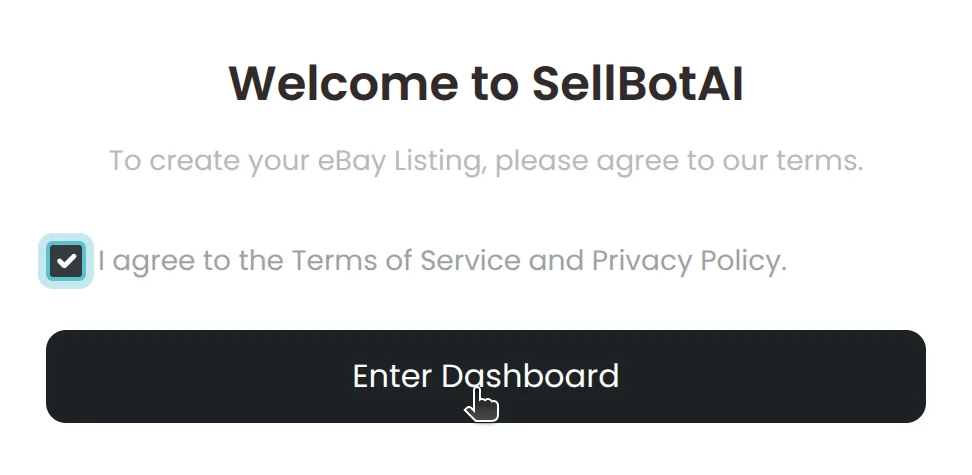
Finally, review and accept our Terms of Service and Privacy Policy to activate your dashboard.
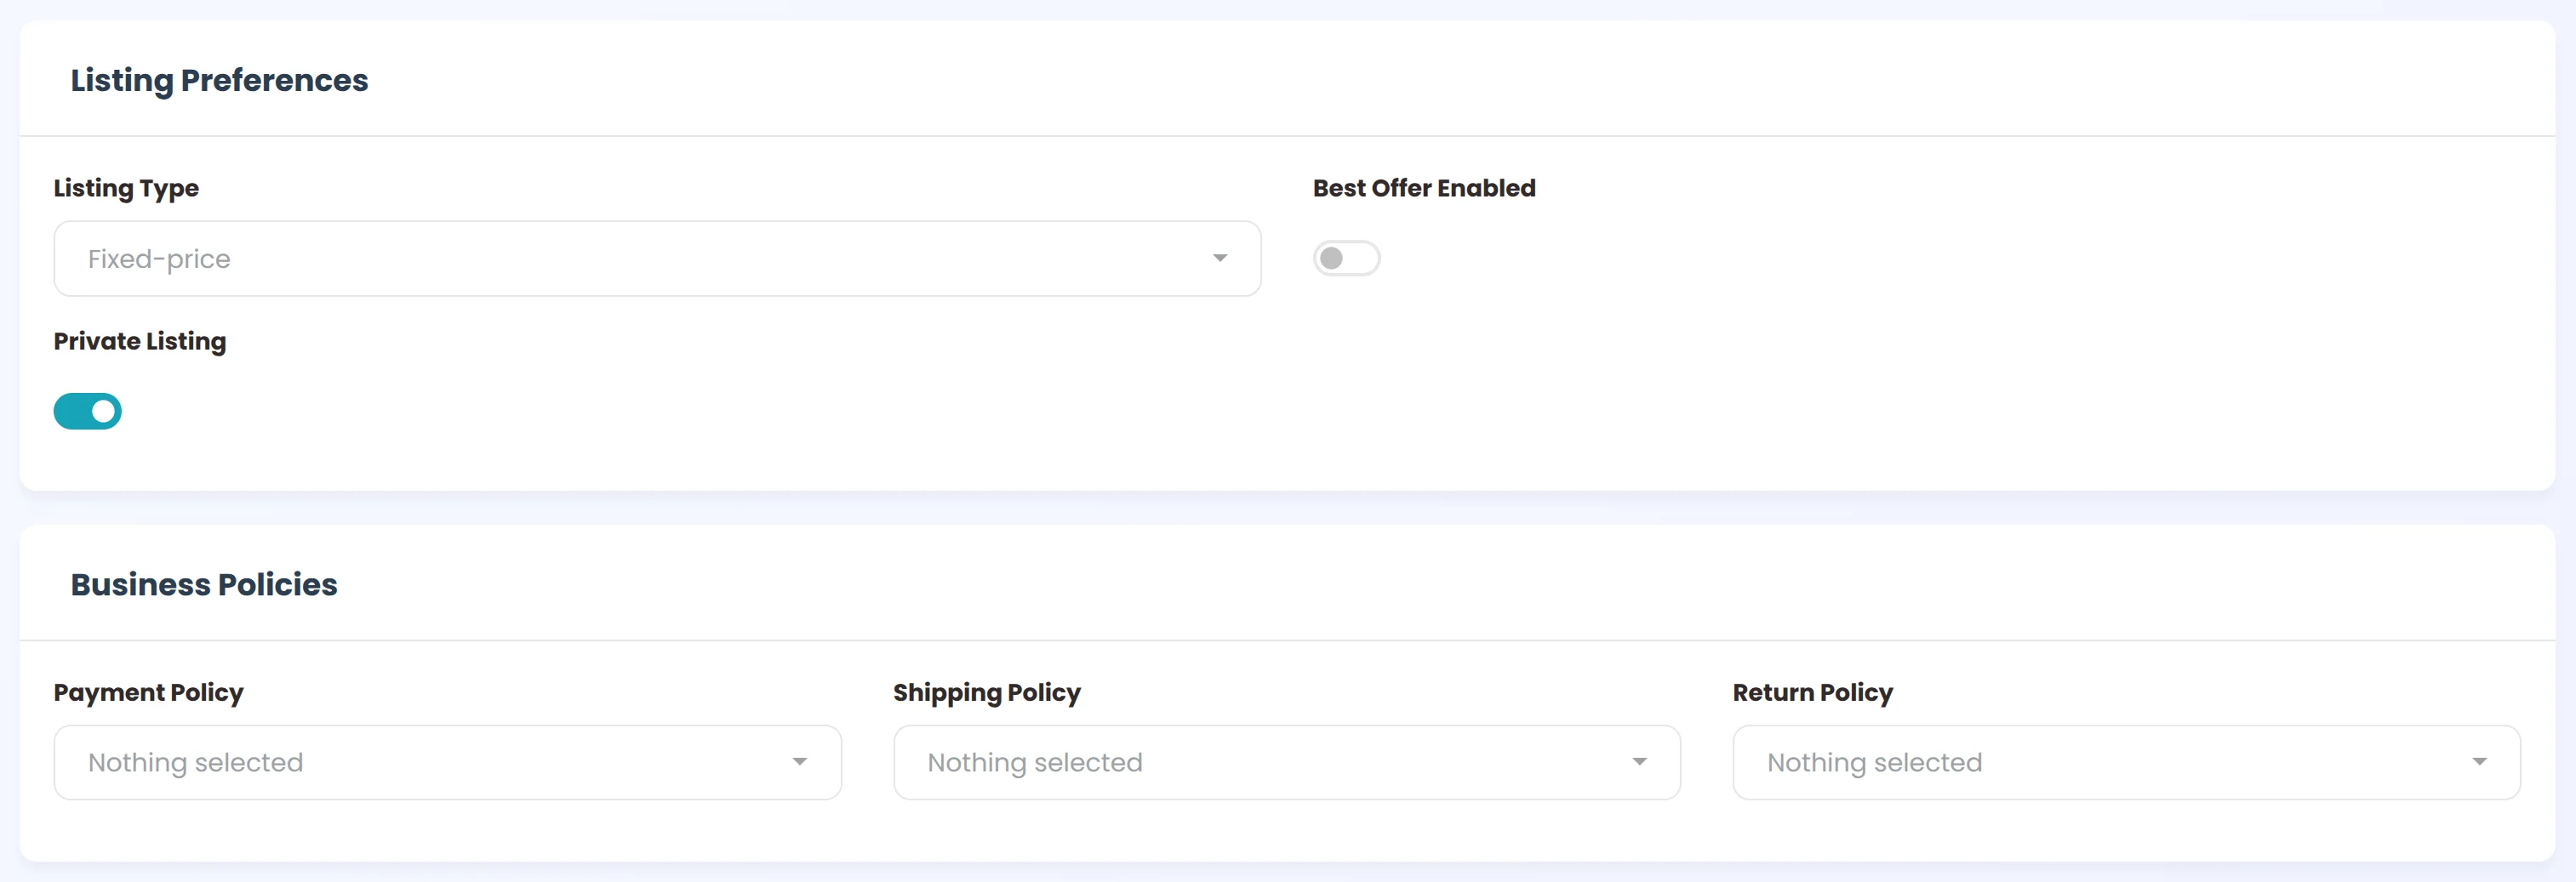
Step 4 Dial In Your Default Settings
You are officially set up! You will be immediately dropped into your Settings dashboard. Before generating your first listing, you should configure your defaults so you never have to enter repetitive data again.